



contact us



products
- Main Products
- IEC Test Probe
- UL Test Probe
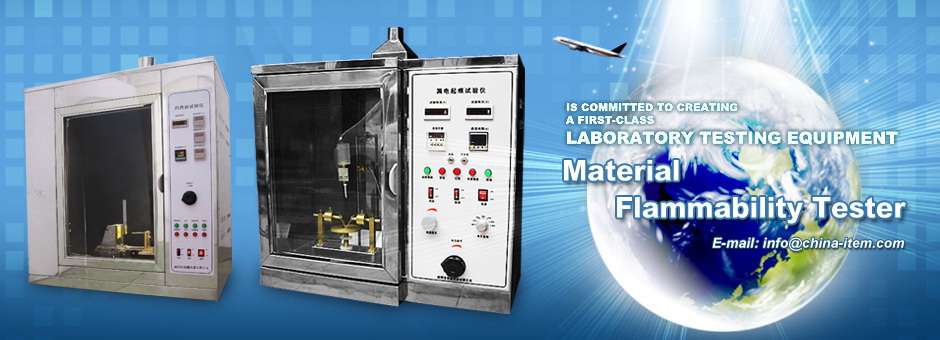
- Material Flammability Tester
- IP Code Tester
- Impact Test Apparatus
- Security Testing Machine
- Lamp Cap Gauge Tester
- Lampholders Gauge Tester
- Plug & Socket Tester
- Electrical Safety Tester
- LED Test Instruments
- Environmental Test Equipment
- Instrument Accessories
- Weighing Sensor
- Others Testing Equipment
technical articles
Company News
Needle-Flame Test (IEC 60695-11-5): Set-Up, the 30-Second Burn and Acceptability
The needle-flame test is the small-flame method used when a component is too small or too thin for the glow-wire test, or when a product standard simply calls for it. It uses a tiny burner to apply a defined flame to a specimen and judges whether the part spreads fire. Like the glow-wire test, the simplicity is deceptive: the flame size, the application time and the timing of what happens afterwards decide the result.
When needle-flame is the right test
Glow-wire needs a part big enough to absorb the heat of the wire loop. Small connectors, thin films, tiny insulators and components that sit near live parts but are too small for a wire loop are the usual needle-flame candidates. The two tests answer related but different questions, so do not substitute one for the other just because the specimen is awkward; use the method the standard names.
Burner and flame height
The burner is a small tube, and the flame is trimmed to a specified height, commonly about 12 mm, measured from the burner mouth to the tip of the blue cone. Flame height drifts as the gas supply and the burner condition change, so check it against a scale before a series. A flame that has grown or shrunk is applying a different severity than the one the standard assumes.
| Check | Why it matters |
|---|---|
| Flame height (~12 mm) | Sets the applied heat input |
| Gas type and pressure | Changes flame temperature and shape |
| Burner angle | Usually 45° to the specimen |
| Distance to specimen | Fixed by the method, affects impingement |
The 30-second application
The flame is applied for a defined time, typically 30 seconds, then withdrawn. From the moment the flame touches the specimen the clock starts on two things: whether the specimen ignites, and how long any flame and glowing persist after the burner is removed. The usual acceptance is that any flame extinguishes within a set period after removal and that the underlying material or the tissue paper below does not ignite.
- Time the application exactly; a short burn under-tests the part.
- Record ignition time and extinction time, not just pass or fail.
- Use a fresh piece of tissue paper or pine board under the specimen each run.
- Vent the chamber between tests so hot gases do not affect the next run.
Timing the afterflame
What happens after the burner leaves is the real judgement. A specimen that flares while the flame is on but goes out immediately on removal is a different case from one that keeps burning. Burning droplets that ignite the tissue below are a failure even if the specimen itself stops. If the part melts away from the flame, note it as a valid observation rather than forcing a fail.
Acceptability
A pass is not "it did not explode"; it is that flames and glow ceased within the allowed time and did not spread to the tissue or the supporting layer. A borderline result across repeated specimens usually points at an uncontrolled flame height or an inconsistent application, not a marginal material. Verify the burner, re-time the application and re-run on genuinely identical specimens before drawing a conclusion.







